Tag Archives: cooking

Buffalo Chicken Mac & Cheese

So here’s how it went down:

Last week I was dying for something cheesy and delicious so I suggested we hit up our local favorite, Queens Comfort, a magical place that boasts the most fabulous macaroni and cheese. The only problem was mi amor. He too wanted some delicious mac and cheese, but alas Queens Comfort serves theirs with bacon and my boy is of the tribe, so bacon is a deal breaker.

So I suggested instead that I would make a delicious baked mac and cheese at home that was nutritionally appropriate for both of us. Then, while at the market, a non-kosher lightbulb went off, and we decided to kick it up a notch and add some buffalo chicken. BAM. And we’re off!

buffalo mac and cheese, mac and cheese, buffalo chicken, recipe

Melt butter with garlic & onions.

The first (and most complex) step was the sauce, which began with 3 tbsp butter. To this I added garlic onions and some jalapeño (cause I’m spicy). After this began to simmer, I whisked in 3 tbsp flour, effectively creating a roux.

buffalo mac and cheese, mac and cheese, buffalo chicken, recipe

Whisk in the flour.

Once the mixture turns a lovely shade of brown, add in 3 cups of milk. Then start slowly adding whatever cheese you fancy. We used cheddar here:

buffalo mac and cheese, mac and cheese, buffalo chicken, recipe

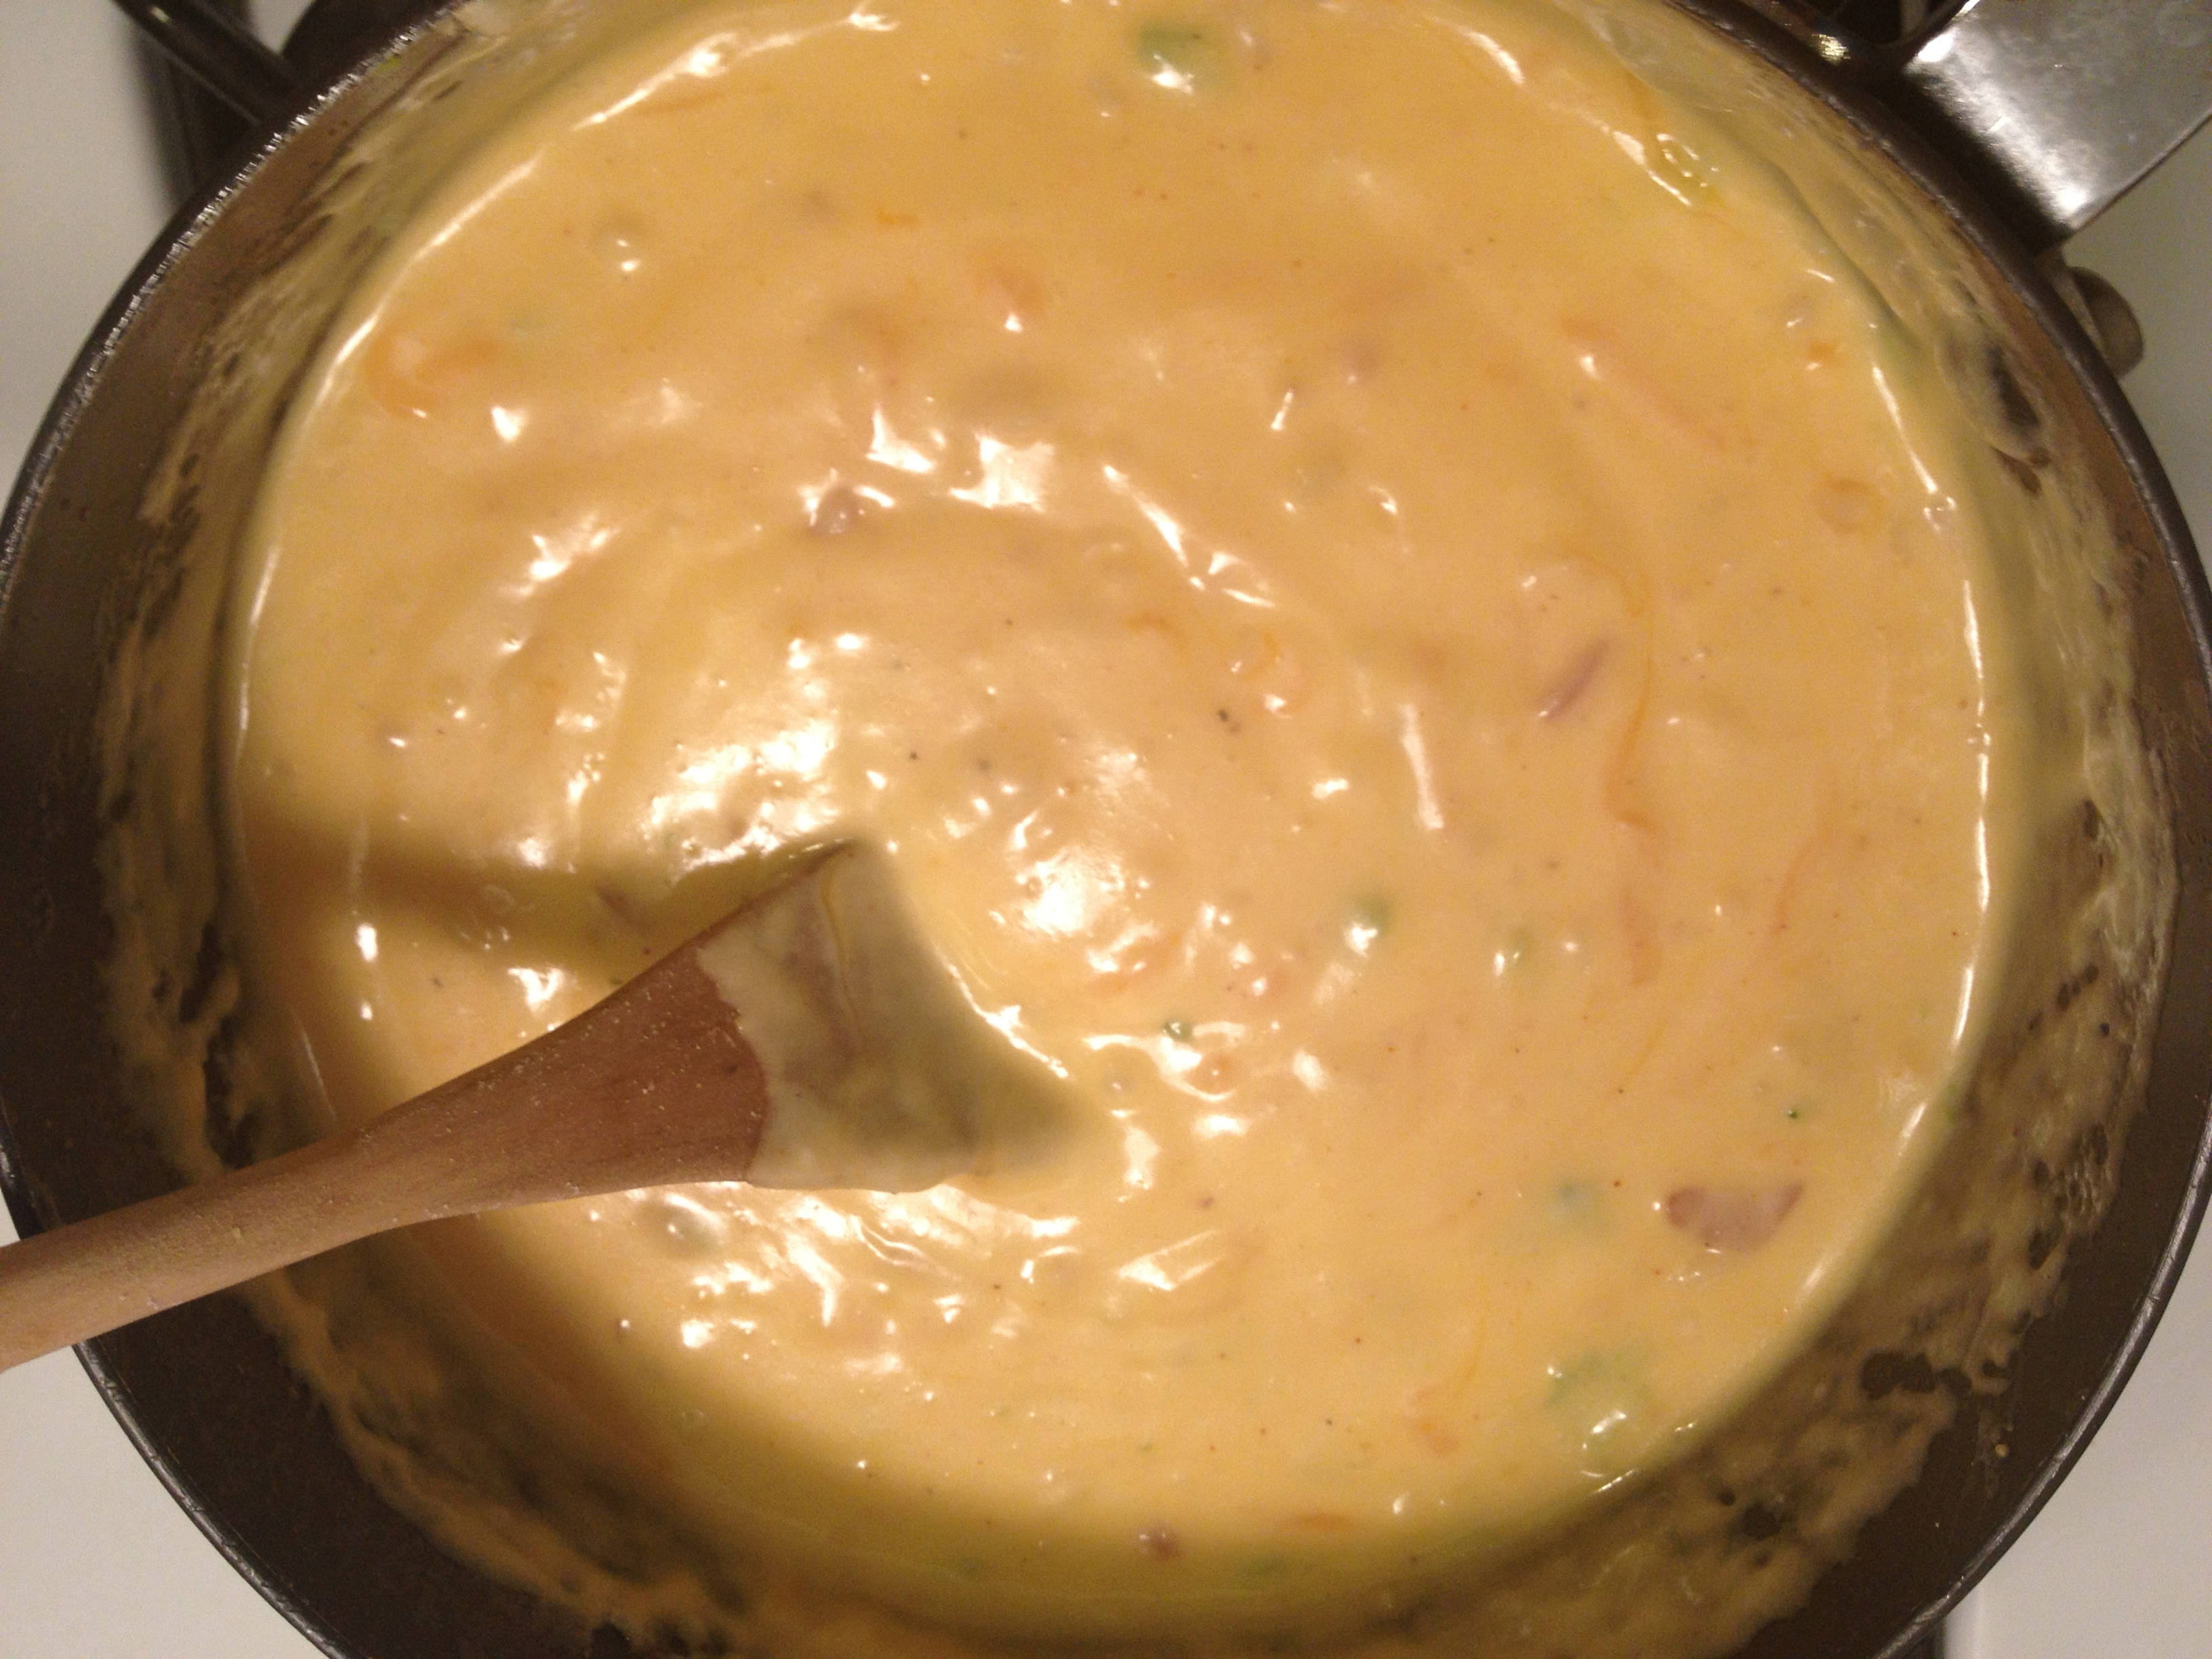
Add milk and cheese.

Then once it’s all melty and delicious, lower the heat, but stir occasionally whilst getting the rest of the dish together.

buffalo mac and cheese, mac and cheese, buffalo chicken, recipe

Marinade chicken in buffalo sauce.

I had my chicken marinating in buffalo sauce for about a half an hour, then into a buttery pan until it looks good enough to eat. I then moved the chicken to a cutting board to cool before I sliced it into bite-sized pieces. Then everything into the pan!

buffalo mac and cheese, mac and cheese, buffalo chicken, recipe

Add broccoli and pasta to pan.

Return the chicken the skillet, followed by whatever kind of pasta you enjoy. We used whole-wheat elbows to convince ourselves this dish was healthy. See also: use of broccoli in this dish.

buffalo mac and cheese, mac and cheese, buffalo chicken, recipe

Close up of the magic.

Because I’m naive enough to think you can just send a man to the grocery store and expect him to know what you mean when you say “foil baking pan,” I got to coin the soon-to-be-world-famous “mac and cheese pie” with these babies:

buffalo mac and cheese, mac and cheese, buffalo chicken, recipe

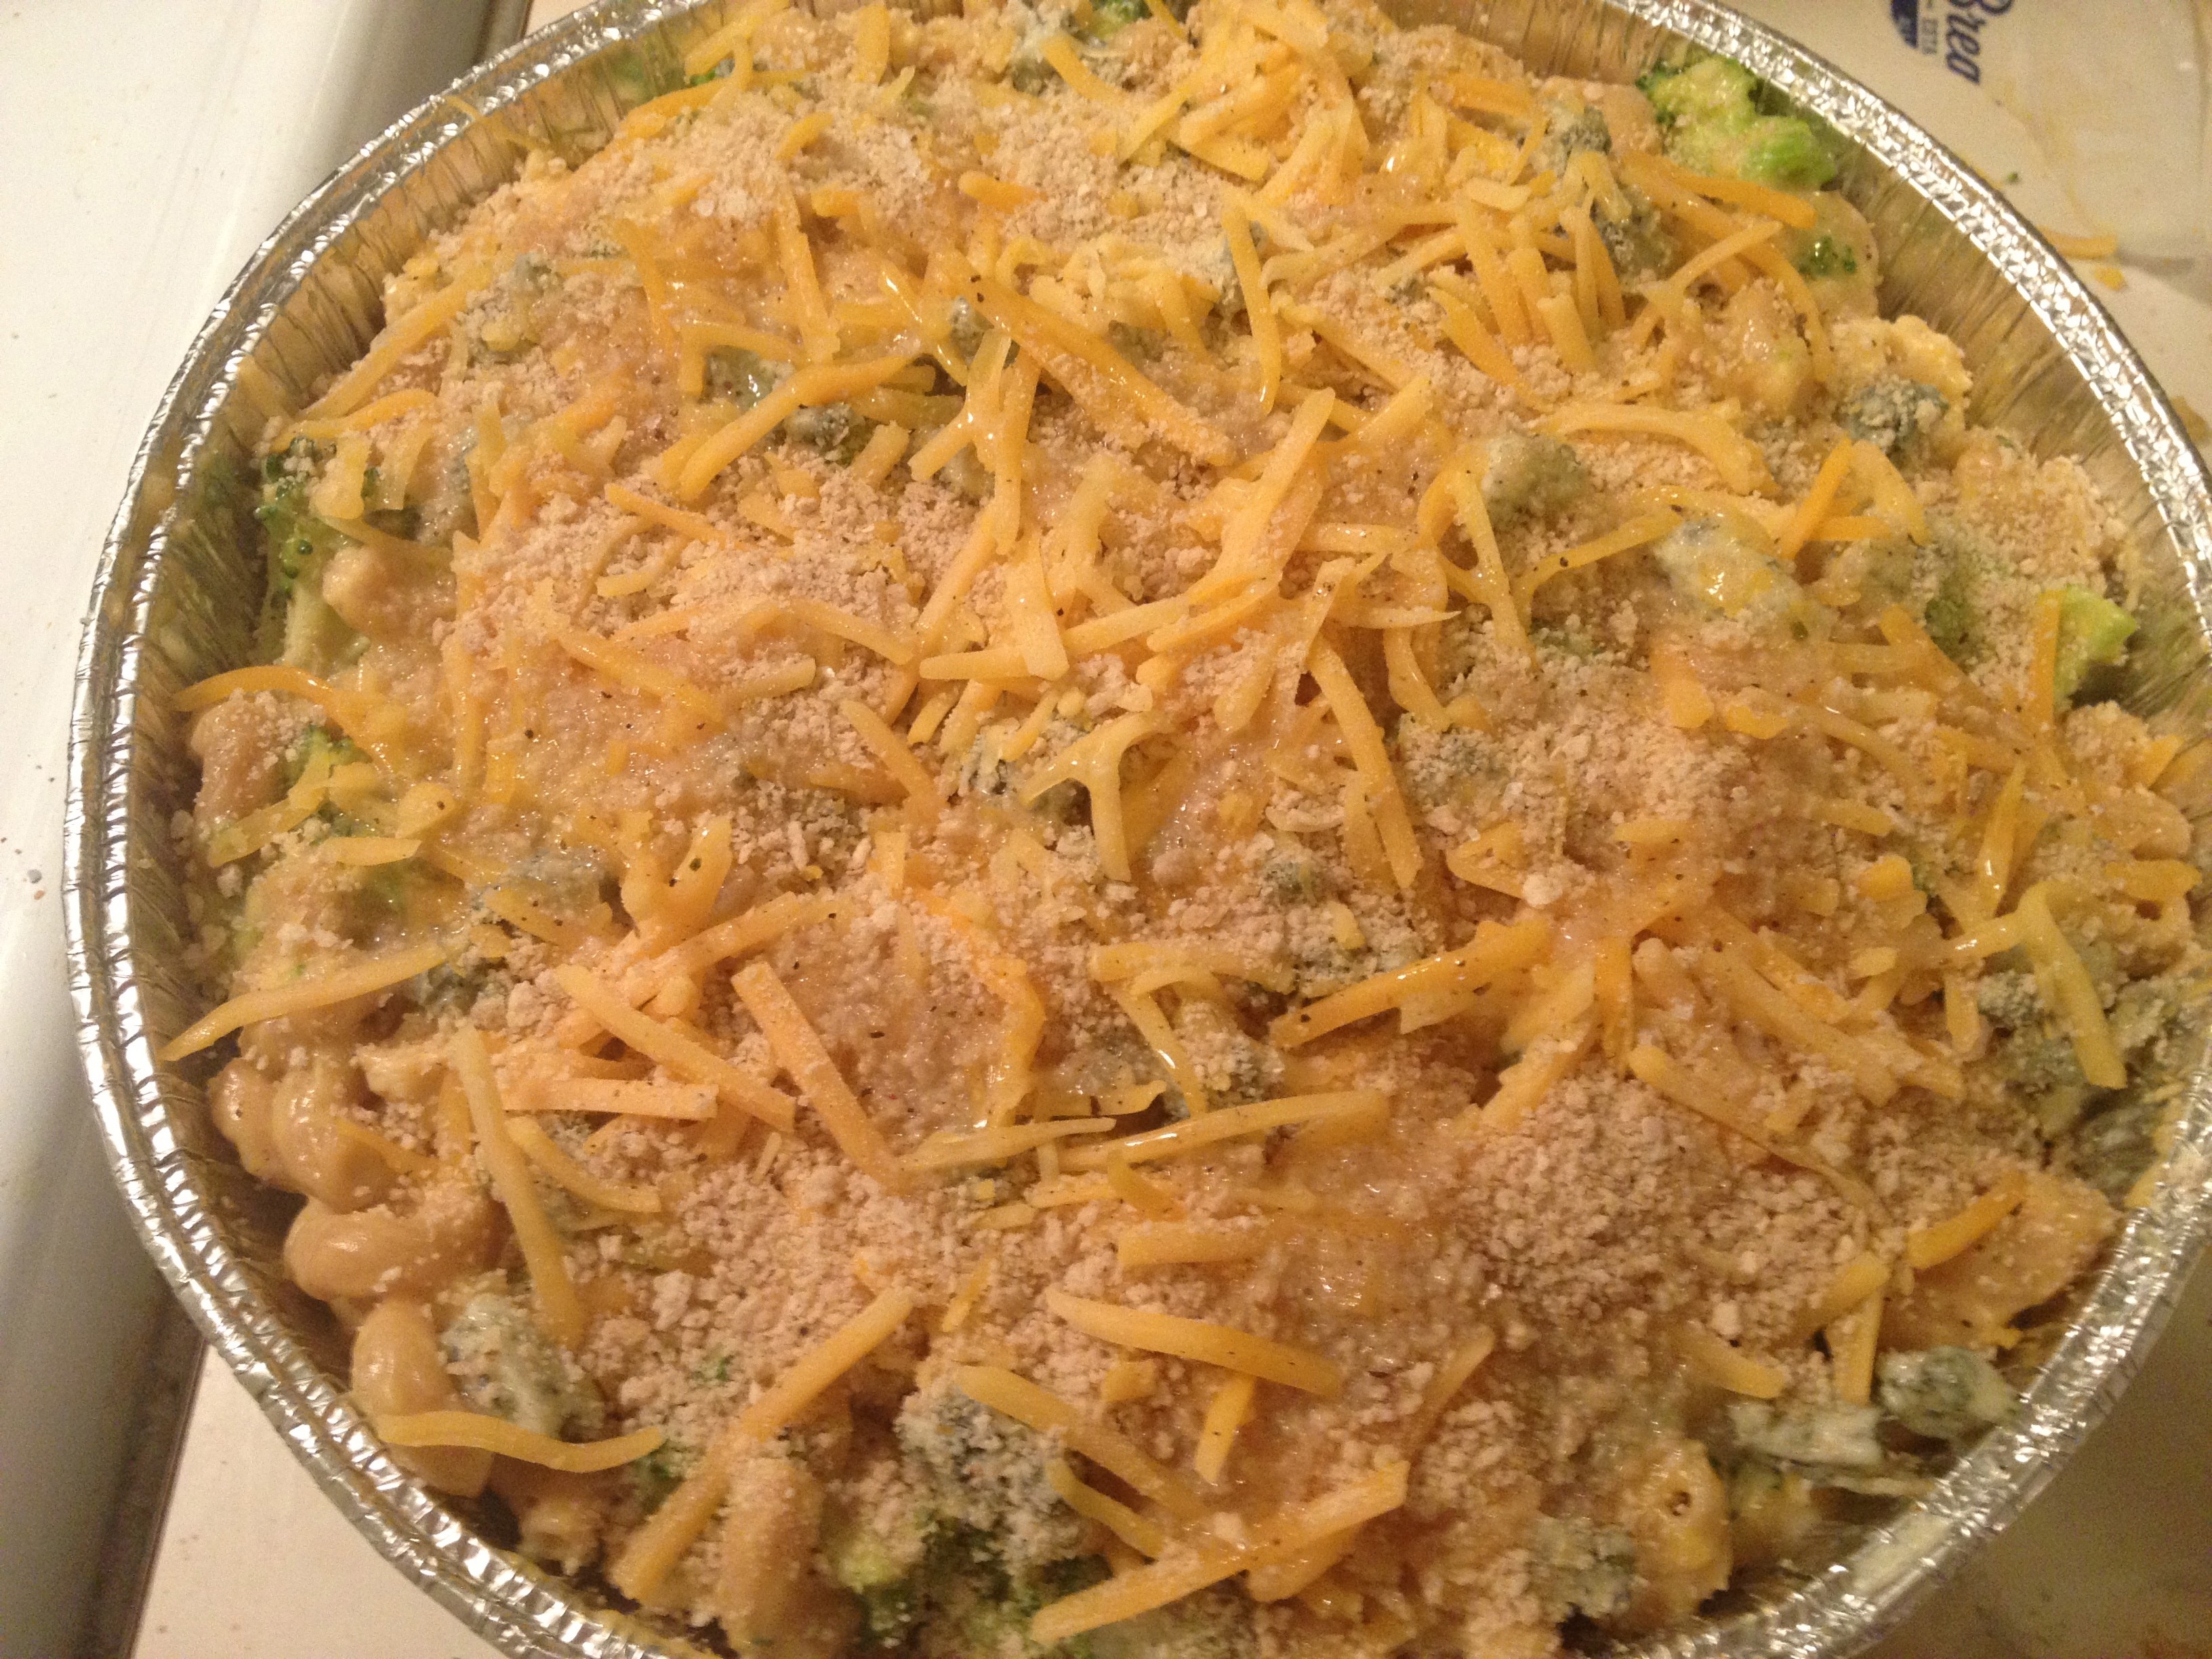
Top with bleu cheese, breadcrumbs and butter.

I scooped it all into two of these pans, then covered them with a little more cheddar, a few bleu cheese crumbles and some breadcrumbs. Then pour on another 1/2 cup of butter and into the oven at 400!

buffalo mac and cheese, mac and cheese, buffalo chicken, recipe

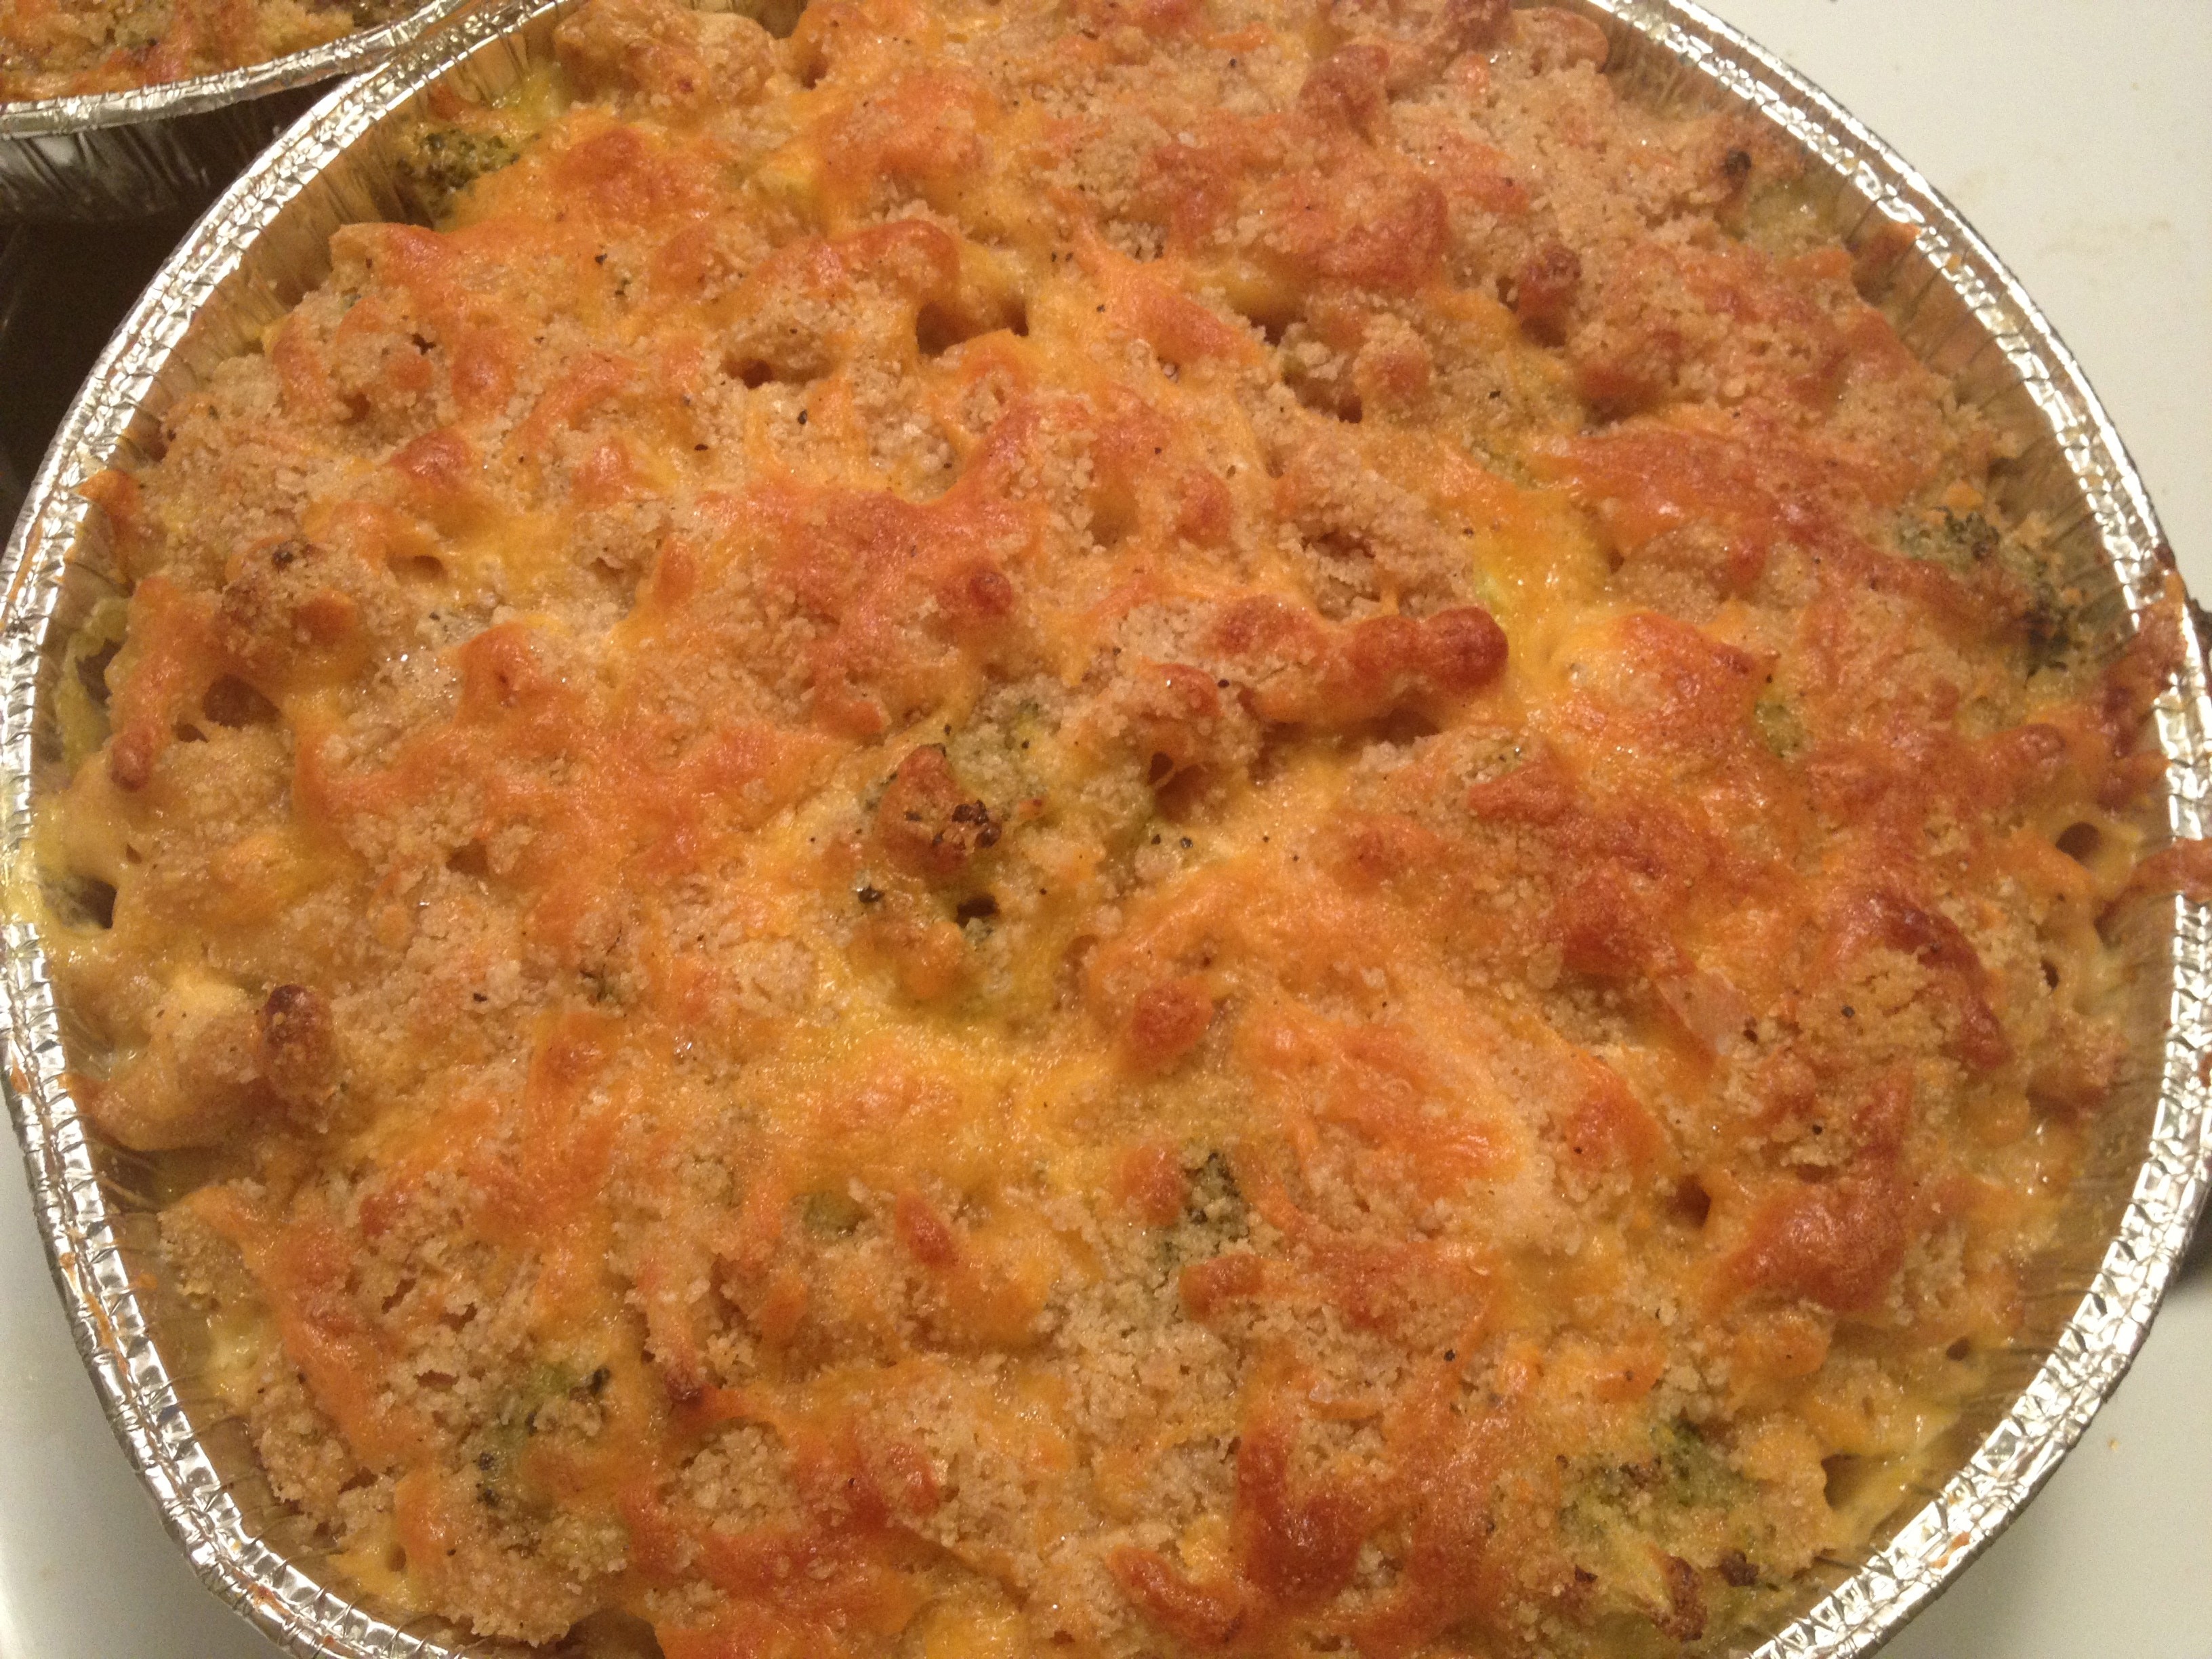
Cook at 400 degrees for 25-30 minutes.

And in approximately 25-30 minutes, this is what you’ll have. Yeah. Mmm.
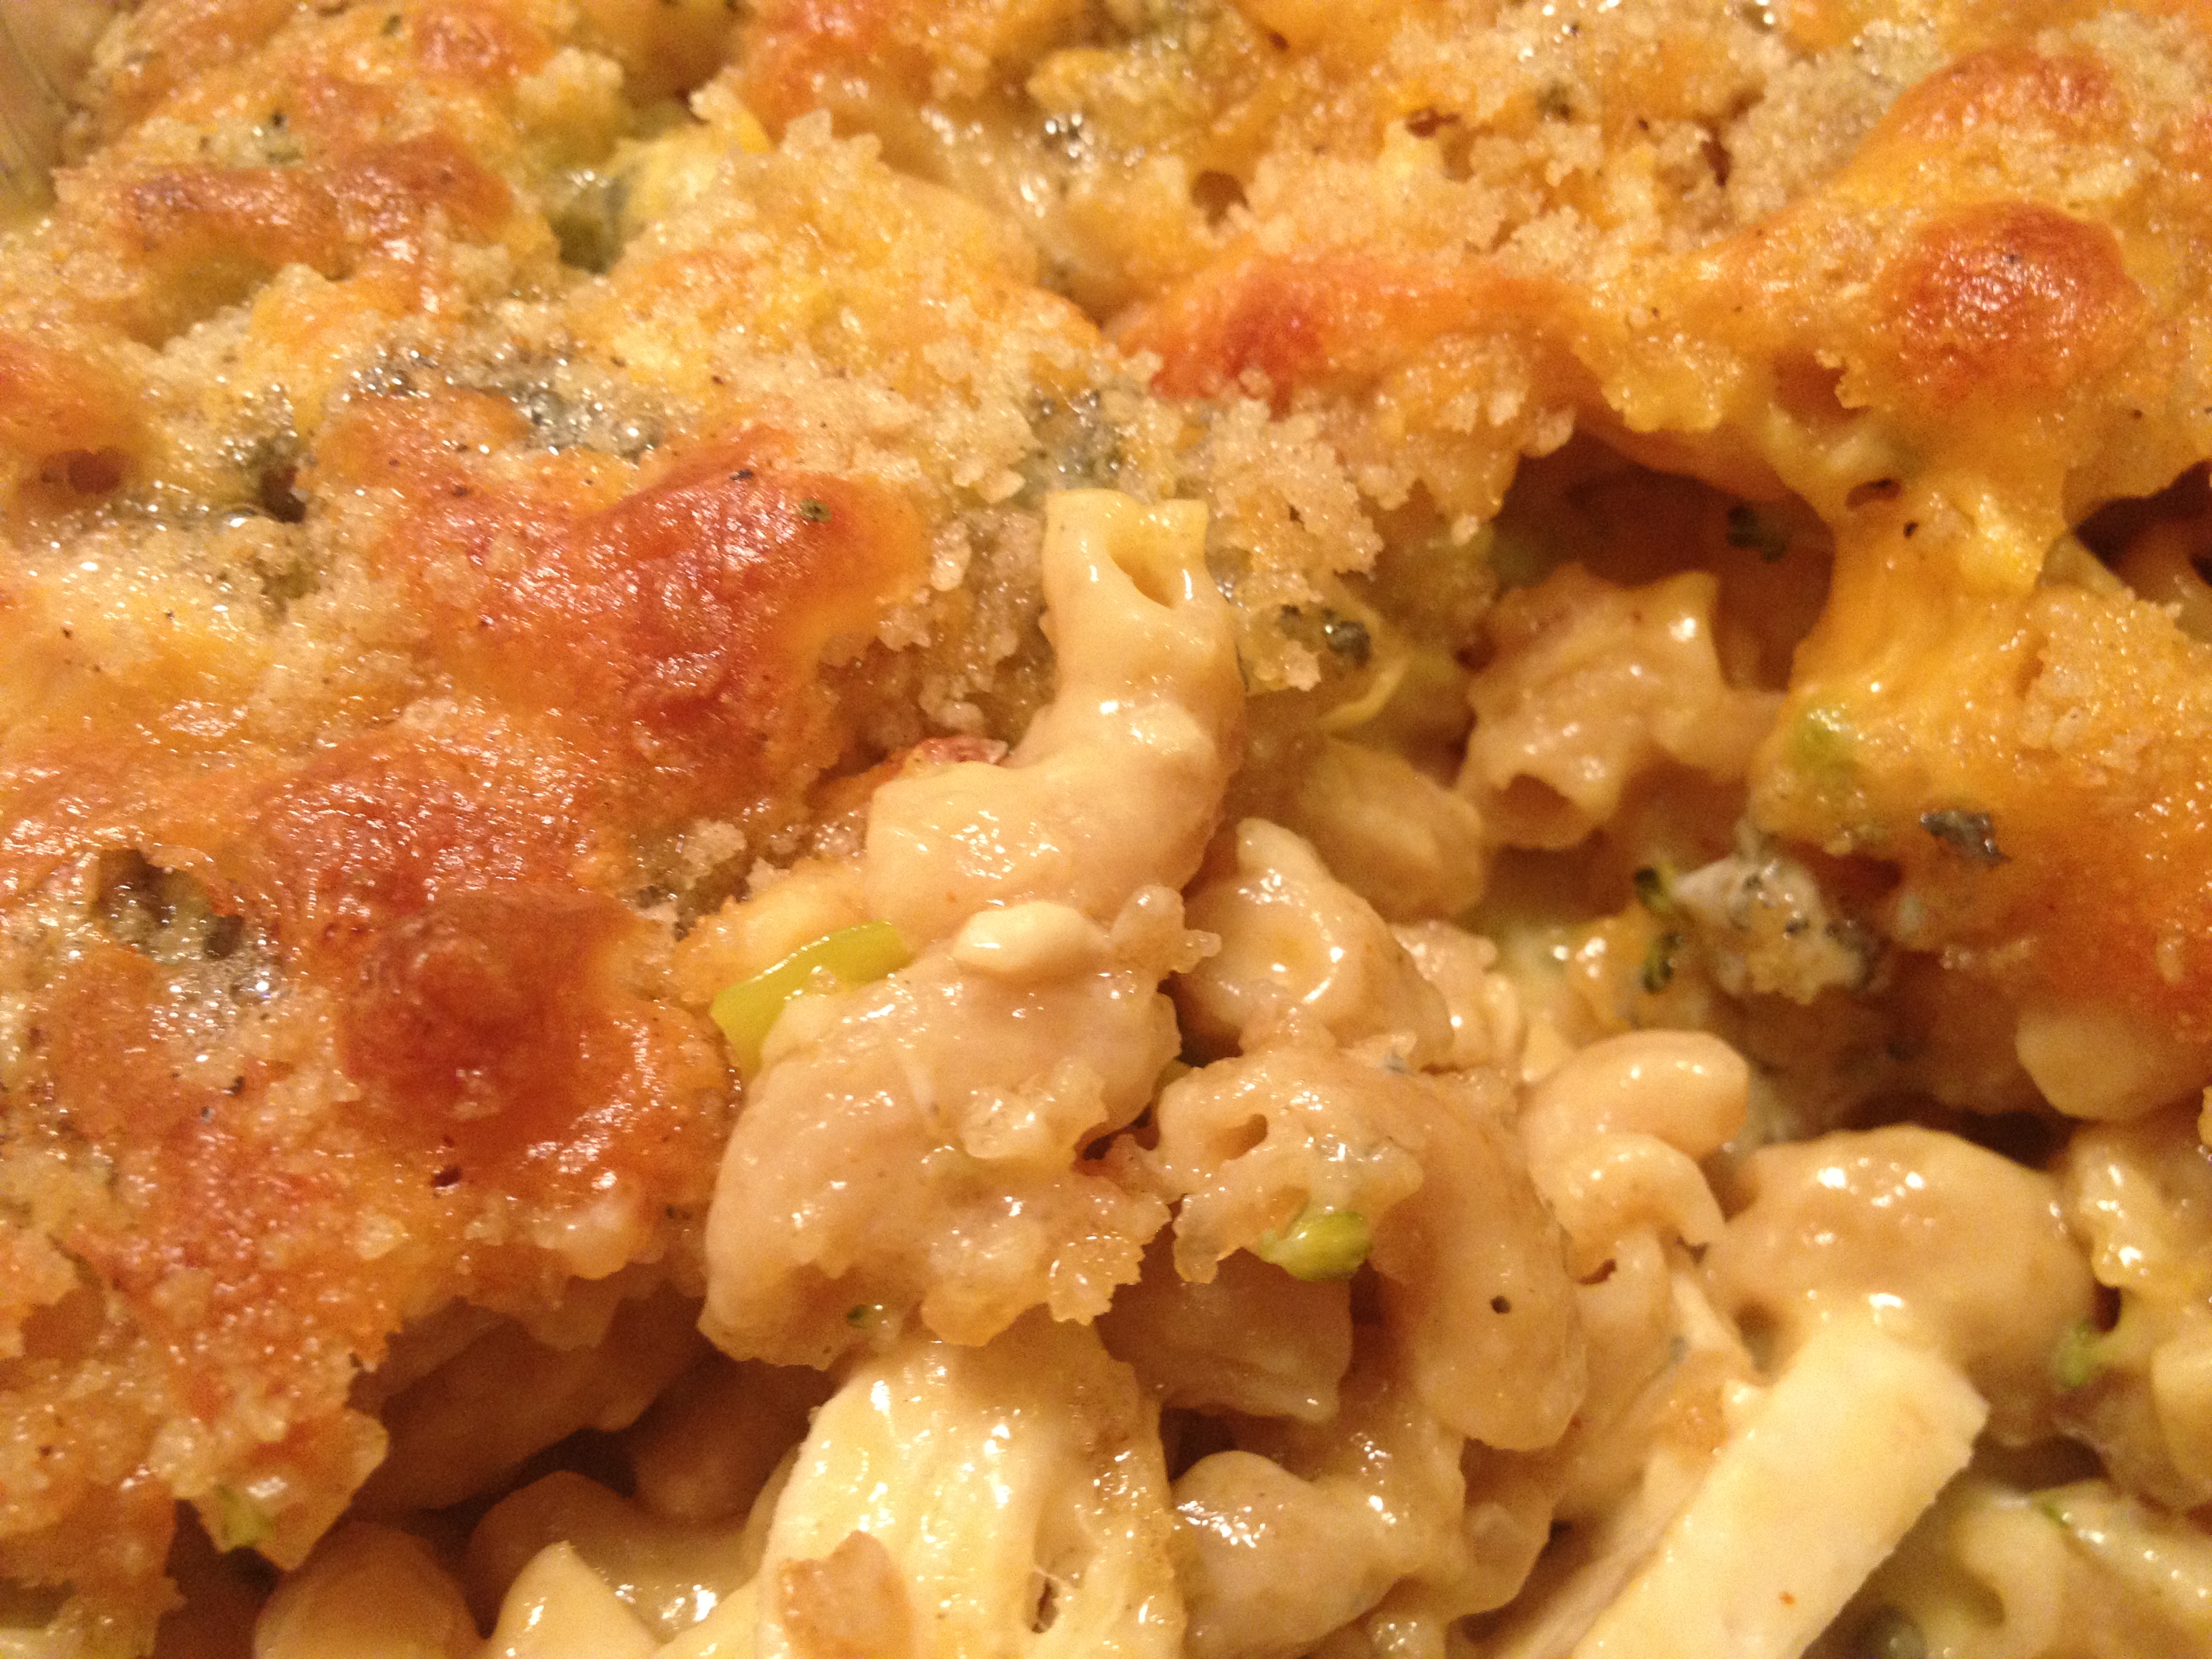
buffalo mac and cheese, mac and cheese, buffalo chicken, recipe

And enjoy!!

Take THAT, Queens Comfort!

Advertisement

Leave a comment

Filed under Recipes

Home Made Egg Rolls

We were lucky enough to take a cooking class in Chiang Mai while on vacation in Thailand this fall where we learned to make the elusive Pad Thai my  man craves so much. <– Stay tuned for that recipe. Today we’re going to make a version of the spring rolls we learned to make during that class. I say “version,” because I couldn’t find any “spring roll” wrappers, only “egg roll,” so the filling will be the same, but the outside a little crunchier. Who cares?! I get to use my new deep fryer and that’s really what this is all about, so off we go!

pad thai, thai food, thai street food, bangkok, street food, spring rolls, egg rolls, recipe, cooking, thai cuisine

Garlic, Carrots, Scallions, Bean Sprouts, Tofu, Chicken, Glass Noodles.

Put the water on for the rice noodles to boil then get to chopping! Obviously one would do fine stuffing an egg roll with anything (I’m even thinking a banana-nutella egg roll might hit the spot), but in this case we were really trying to channel those authentic Thai flavors, so I followed the recipe. First heat the oil, then throw in the garlic for a minute, followed by the chicken and tofu for another minute or two. Then throw in the noodles (followed immediately by a tablespoon or two of water), then toss in the other veggies, give it a stir and BAM: easy as that.

pad thai, thai food, thai street food, bangkok, street food, spring rolls, egg rolls, recipe, cooking, thai cuisine

Add fresh cabbage.

Next heap a portion of the mixture into whatever wrapper you are able to find at the market and get to rolling. I added some fresh cabbage to mine for the pretty color 🙂

pad thai, thai food, thai street food, bangkok, street food, spring rolls, egg rolls, recipe, cooking, thai cuisine

Roll it up, paste with egg.

Wrapping these things takes a bit of finesse; I think it’s easiest to roll from the corners, then over roll a bit, tuck in the edges, paste with egg, then roll it on up and paste a little more. The package of wrappers said to use water to make it stick, so if anyone has done that and thinks that’s easier than egg, please let me know! And now for the fun part!

pad thai, thai food, thai street food, bangkok, street food, spring rolls, egg rolls, recipe, cooking, thai cuisine

And fry-eems up!

This Christmas, I requested a deep fryer and was thrilled to receive this amazing and super easy to use compact fryer that fits perfectly in my apartment. Gracias Fajah. I used plain veggie oil to fry as I’ve been told olive oil has too much of its own flavor to properly cook Thai food. I don’t want to brag, but these were pretty delicious:

pad thai, thai food, thai street food, bangkok, street food, spring rolls, egg rolls, recipe, cooking, thai cuisine

Am I right?

2 Comments

Filed under Recipes

Buffalo Chicken Lettuce Wraps

If you’ll remember a week or so ago, I bought a rotisserie chicken to make some particularly delicious crunchy tacos. As I mentioned then, I only used half of the chicken for that meal. This is what a did with the other half:

I was in the mood to make a lettuce wrap, something I always thought sounded nice but had never actually made. A few months back my housemate purchased a bottle of buffalo sauce that we used for one meal and haven’t touched since. We were short on time this particular evening, so I decided buffalo chicken would be a fun foray into the challenging world of lettuce wraps. Since I wasn’t making the sauce myself, I decided the homemade part of this meal would be the bleu cheese dressing.

First grate or finely chop garlic, onion, celery and carrot

Mix in greek yogurt, lemon juice and bleu cheese crumbles


I added the carrots and the celery to the dip to mirror the flavors typically served with buffalo wings. I used yogurt here for the dressing because I saw this as a healthier version of the traditional wings and bleu cheese. Once the sauce was finished, I shredded the chicken and warmed it through on the stove with the buffalo sauce.

I heated the rotisserie chicken with the buffalo sauce

I know many people use iceberg lettuce for lettuce wraps, but I hate iceberg lettuce so I used romaine and it worked just fine. As a final flourish, I shredded some carrots and celery for either a side salad or wrap topping, it’s up to you! These made for a pretty meal that was healthy, tasty and took less than 20 minutes to prepare. POP POP.

Served with a salad of shredded carrots and celery

2 Comments

Filed under Recipes

Lentil Soup a la Loren Lieberman

I apologize for my absence; I’ve been in Texas where I ate all sorts of wonderful food (blog to come) but for today I am going to share a wonderful recipe I was given by the lovely Loren Lieberman, beautiful mother of my dear friend Arielle.

During a happy hour date with Arielle, I expressed my desire to make my own soups, to which she replied that her mother made an excellent lentil soup. I was intrigued. You see, I have recently developed an affinity for lentil soup, which I had been buying in cans from the supermarket. Then a few weeks ago, to my horror, I discovered I had been paying $4.50 per can of soup! Never again!

I was ecstatic to try this soup made with lentils, carrots, celery, onion, zucchini, and a jalapeño.

Add everything to the pot, add parsley, bay leaf, salt, pepper

The recipe calls for any kind of stock, so I used veggie both because that’s what I had in the fridge and to introduce a few more vegetarian meals into my diet. The ratio of liquid to lentils is supposed to be 5:1. If you are in possession of a large pot, this is no problem for you. I only have two small pots, so I ended up adding too many lentils, making this soup a little thicker than intended, but it was still delicious!

I let the liquid come to a boil, then added the lentils while I chopped the other veggies. I then added everything and lowered the heat to a simmer, covered and let sit for one hour.

After an hour, I separated this into two pots, added a little more liquid and it turned out beautifully!

The biggest challenge with this soup was that I needed to freeze a portion of it because I was going out of town and I can’t count on my housemate to eat leftovers. I wasn’t sure how it would freeze, but I am currently enjoying a bowl of the de-frosted soup and it’s just as tasty! I believe I got about 8 portions out of this recipe and the total cost was less than $10. POP POP.


2 Comments

Filed under Recipes

Gnocchi with Lamb Bolognese

I was feeling rather bored with all the typical dinner choices this week. Everything seemed meh until my man suggested something he loves that I’ve never really given a chance: gnocchi. I consented, albeit rather hesitantly.

Then, as we were walking through the super-est of the markets in our neighborhood, we happened up some ground lamb. YES! Something new. I was elated.

I made the tomato sauce with garlic, onions, basil, oregano, cumin, salt and pepper

I cooked the lamb with garlic and onions. Drain the fat before adding it to the sauce


Never having cooked lamb before, I wasn’t exactly sure how to do it. But it looked like beef so I just did it like beef and guess what? It worked. I kept it a little pink in the pan because I knew it would cook more in the sauce.

Let the sauce and the meat simmer together for 20-30 minutes.

I added the gnocchi just at the very end and then a little romano cheese on top.


This being my first time really eating gnocchi, I didn’t think it best to try my hand at making it, so we bought a package and dropped it in some salty boiling water until it floated to the top, which I’m told indicates it’s finished. It was tasty and potatoey– a very decadent dish.

Served with salad and a nice Chianti... yes I considered fava beans... no my man did not get the joke... did you?

This salad was actually rather intense, it had your basic lettuce, tomato, carrot, onion, cucumber, but I also had some left over avocado, asparagus and feta in the fridge. WINNING.

It was a tasty supper and something we’ll definitely be doing again 🙂

1 Comment

Filed under Recipes

Mushroom and Feta Stuffed Chicken

Last week, a discussion was had in my home regarding the lack of vegetarian dinners had by us. I suggested we do a mushroom-based dish, which is a big concession for me because I don’t particularly care for mushrooms, but I thought it might be a nice change. Somehow, after vast discussion, we decided on mushroom-stuffed chicken. Yes, I realize that’s not vegetarian. No, I’m not sorry. Why? Because it was delicious. And it was insanely cheap. We bought one portabella mushroom ($1), a small hunk of feta ($1), thinly sliced chicken cutlets ($3), one potato ($.50). We already had the olives and the asparagus.

Chicken brushed with olive tapenade, filled with feta cheese and mushrooms.

First, I sautéed the mushrooms with garlic, ginger and olive oil. Then after brushing the chicken with the olives and throwing a hunk of feta down, I scooped in as much of the garlic-ginger-mushroom mixture as I could.

Wrap them up carefully, pin with toothpick, roll in breadcrumbs and douse with butter!

I’m sure this would taste fine non-breadcrumbed and buttered, but I’ll never know for sure cause it’s too delicious like this 🙂

It goes into a 350 degree oven for 30 minutes, giving me just enough time to get the side dish together!

Potato and Asparagus Hash

We were originally going to have just grilled asparagus, but having once enjoyed a potato and asparagus hash at a restaurant, I thought, “I bet I can do that! It’s just cutting up everything into small pieces.” And I was right. I threw in the potatoes first, let them brown, then threw the garlic in, let it crisp a little, then only did the asparagus for the last five minutes so it stayed nice and crunchy.

I put food on top of other food because it makes me feel fancy.

This was a very pretty dinner we had that was packed, and I mean PACKED, with flavor. It was crispy and gooey and crunchy and yummy. AND it cost less than $3 per serving. I dare say… POP POP.

Leave a comment

Filed under Recipes

Spring Time = Healthy Eating

So it’s springtime and for many people, some residing in my home with me, it’s a time for eating healthier and yes.. gym going. This post will not deal with the gym going, whether it’s a 6am or not, but instead with my newest task: healthy food that doesn’t taste like it’s healthy. Challenge accepted.

When all your meal consists of is veggies, chicken and pasta and everything has to be lightly grilled, creativity must take over. First you need a variety of vegetables, pick different colors.

1 red pepper, 1 zucchini squash, 1/2 purple onion, 3 cloves of garlic

This is whole wheat pasta. Rice noodles are also really good with this dish.


First I grilled the more sturdy vegetables in a bit of olive oil for a few minutes while the pasta water boiled. Then once the pasta goes in, scoot the veggies to the side and add the chicken to the skillet.

I marinated this chicken in sriracha cause we're a spicy household.

Then I added broccoli and a chili pepper, soy sauce and a spicy thai peanut sauce.


If you prefer to use two pans, do that, but eventually you’ll need to throw everything together into one. Once the chicken is finished, throw in the broccoli and the chili peppers. I wait until the end to add these because broccoli is a delicate veggie that will be trashed if you put it in at the beginning and I like the chilies to retain their spice, which overcooking can prevent. Then I toss it with some soy sauce, low sodium (much to my chagrin), and this yummy spicy thai peanut sauce, but all that’s up to you!

This dish is easily made vegetarian, just leave out the chicken!

Here’s the finished product. To be honest, I prefer it with the rice noodles, but whole wheat isn’t bad and it’s definitely healthier if that’s your game. This is an easy, extremely versatile recipe that is healthy and packs a big punch of flavor. What sort of stir fry do you enjoy?

Leave a comment

Filed under Recipes

Got leftovers? Time to get creative!

If you’ll remember, at the end of my post about the chicken enchiladas (once again, New York, you’re welcome), I promised I had a plan for the leftover enchilada filling. If you’re anything like me, the thought of having to throw out food doesn’t exactly appeal to you. If you’re a lot like me, the idea makes you downright nauseous. In any event, that meal left me with half a pack of corn tortillas and a ton of leftover filling. Sure, I could have just made enchiladas again, but where’s the fun in that?

Instead I decided to cook the filling down with some tomato paste and black beans, creating a sort of chicken chili if you will, which I then layered between corn tortillas for a sort of Mexican lasagna. My mom called it enchilada casserole, so I am too. Honestly, and not to toot my own horn, but you could call it a casserole of crap and it wouldn’t change the fact that this dish was delicious and essentially free based on the fact that I would have otherwise had to throw out everything I used.

Click here for the original filling recipe, to which I added a can of tomato paste and a can of black beans. Then I let it simmer for two hours.

I then took one of my super expensive and classy foil dishes and put down a layer of corn tortillas, which I softened in the microwave for 30 seconds. I tore them so they’d fit, it certainly doesn’t need to be perfect.

I started slopping in my chili mix, I did two layers, so half and then half, but whatever makes your heart sing!

After the 1st layer of chili and before the 2nd layer of tortillas, I threw in some fresh onions and peppers for a little crunch!

Once you’ve made your layers, top with whatever type of cheese you like and then into a 350 degree oven for 20 minutes or until the cheese is bubbly.

I like it a little burnt around the edges, but you can always take it out earlier 🙂

Served here with a box of Spanish-style rice and (as always) guacamole -- Click for recipe


The box of rice — not my idea. I’m not sure if you’re aware, but these things called “relationships” they often take compromise, and my man wanted the rice, which I did not care about (I’m more of a double beans, hold the rice, type of gal). But like I said, he wanted the rice, he picked out the box, I followed the directions on the back and you can, too!

Leftovers? What leftovers… What I meant to say was: POP POP.

1 Comment

Filed under Recipes

Jeanie’s Banana Nut Bread

For as long as I can remember, whenever the bananas in the house would start to speckle, my mother would threaten us with something that was really no threat at all. She’d say that if we didn’t eat the bananas, she would be forced to bake banana nut bread. As you can see, I had it pretty tough growing up 🙂

Fast forward to this week. I’m all grown up and have now allowed my own bananas to turn brown in my own apartment, but that voice in my head is thankfully still there. “I guess you’ll just have to bake banana nut bread then,” it said. And since I wasn’t brought up to disobey, I had received my next challenge. I could think of no more fitting a recipe to use as my first foray into the baking world than my mother’s banana nut bread recipe.

And we’re off!

In here we have 2 1/2 cups flour, 1 1/14 tsp baking powder, 3/4 tsp baking soda, 1 tsp cinnamon, 3/4 tsp salt, a pinch of nutmeg and cloves.

In this bowl we have 1/4 cup buttermilk, 1 1/2 cups bananas (I used 3 bananas) and 1 tsp vanilla.

And in this big bowl, we have 1/2 cup butter, 3/4 cup brown sugar and 1/2 cup white sugar. Mix all this together, then add 3 room temperature eggs one at a time.

Once smooth, add half of the banana mixture and half the dry ingredients, mix-eems in, and then repeat.

Once everything is mixed smoothly, fold in the nuts. I'm from Texas, so yeah, these are pecans.

Into a loaf pan and then into a 350 degree oven for an hour to seventy minutes (just keep an eye on it after an hour).

Take it out when it has reached your personal level of done. As for me (and my Momma!) we likes it crunchy 🙂


Now I don’t know that it was just like hers…  you see, there’s an extra special ingredient that it seems only mothers know how to use properly, but someday I’ll get that one too. As for now, I know she’s looking down saying, “Now that looks like some pretty damn good banana nut bread!” 🙂 And it was. Thanks, Mom.

Leave a comment

Filed under Recipes

A Taste of Home

This is the longest I’ve spent away from Austin at one time in more than two years, which means one thing: I’ve spent far too long away from good Tex-Mex. In a swift move to quench this thirst, I decided I would make chicken enchiladas with a queso sauce, two things I’ve never done before. I’ve made Texas style queso, Velveeta-and-Rotel-style, but that was a little too heavy for a topping on this dish, so I attempted to make a lighter cheese sauce to top off my enchiladas, which began like this:

You can make this with any type of meat or no meat at all!

You can do this is a regular pot if you have one big enough.

First, I threw two boneless, skinless chicken breasts into a skillet with butter and oil for about six minutes on each side (finish off in a 350 degree oven if necessary). Then, I sautéed chopped green and red peppers, onions, jalapeños, corn and garlic for about 10 minutes before added a can of crushed tomatoes and a can of chipotle peppers. Bring this up to a boil, then let it simmer on low for 20 minutes to give the flavor time to develop.

Not too full or they'll break!

It's a lot of food, but they keep well!

This next part can be a little tricky and a lot frustrating. To make it easier on yourself, take the corn tortillas, put them in a wet paper towel and microwave them for 30 seconds. This will help them from breaking in two while you roll up your enchiladas. After you’ve carefully rolled all of your enchiladas, sprinkle some shredded cheese over the top. Then into a 350 degree oven for 20 minutes.

Takes about 15 minutes.

Mmm.. Cheesy Goodness.

With the enchiladas baking away, it was time to make the sauce.  First, I sautéed onions and peppers before adding milk and butter. Then I slowly added cheese until it thickened. Once thick, add tomatoes and season to taste. Then pour generously over the top of the enchiladas.

Click here for the bean and guacamole recipes.

I served them with refried black beans and we enjoyed them with a cerveza. I don’t even have to click my heels together to know that there’s no place like home.

As for the rest of the enchilada filling? Tupperware that noise up and stay tuned, cause I’ve got a plan for the leftovers 🙂

2 Comments

Filed under Recipes